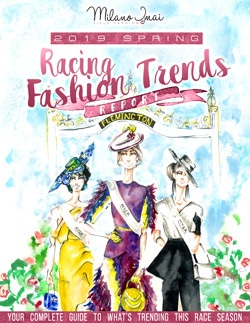
Welcome to Part 2 of a 3-part blog series, where I show you how I made my three 2019 Spring Carnival outfits.
In this post I’ll share how I created my Melbourne Cup Day outfit. You can also read about the making of my Derby Day and Oaks Day outfits.
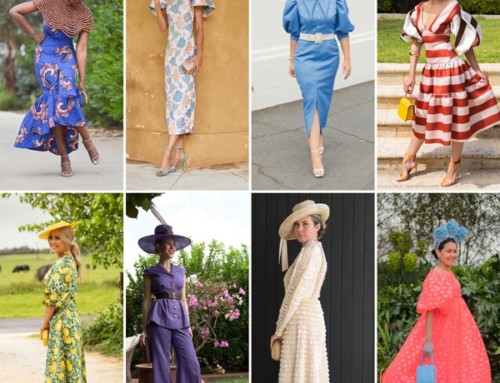
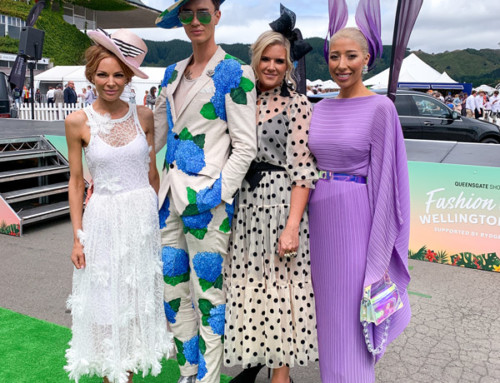
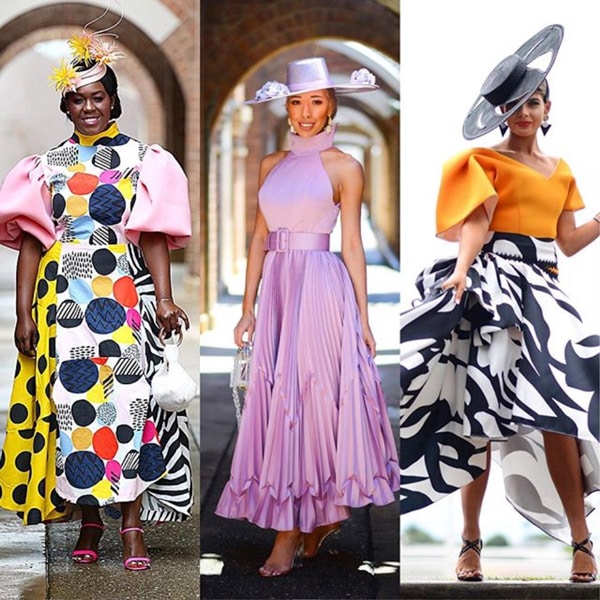
My 2019 Spring Carnival Outfits – Left to Right: Derby Day, Melbourne Cup Day, Oaks Day
The Starting Point
My Melbourne Cup Day outfit started with an overwhelming desire to wear an outfit featuring a beautiful pleated skirt.
And that was the only easy decision of the entire outfit.
The rest was a true test of determination and passion, a whole lot of roadblocks, hiccoughs and huge sighs of relief when the final product arrived and it was love at first try-on.
Making a Pleated Skirt
Back in August I made a trip to Melbourne. I wanted to meet my dress maker Mark Blake and also visit a man named Simon Zdraveski, who owns Specialty Pleaters, one of the two last pleating workshops in Australia.
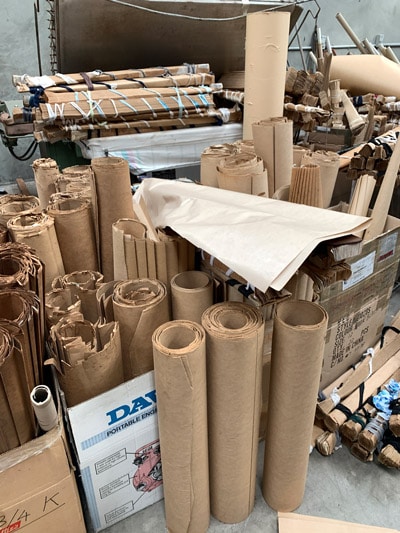

I was so excited to visit Simon in his workroom and to rummage through all the beautiful molds of pleats he had on offer.
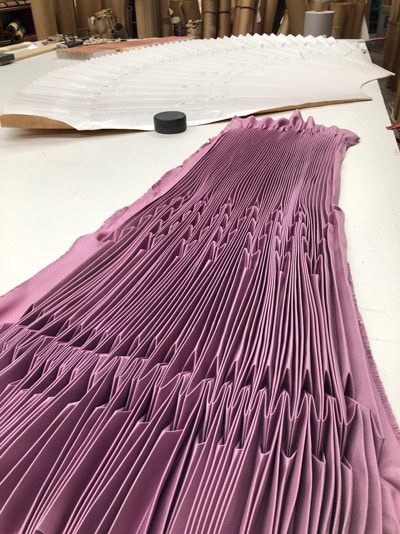
I went there one morning with my dressmaker in tow and spent over an hour in his workroom asking questions, sifting through and touching everything in sight. After viewing numerous pleat molds, I chose my favourite; a beautiful sunray with an intricate detail at different lengths along the design.
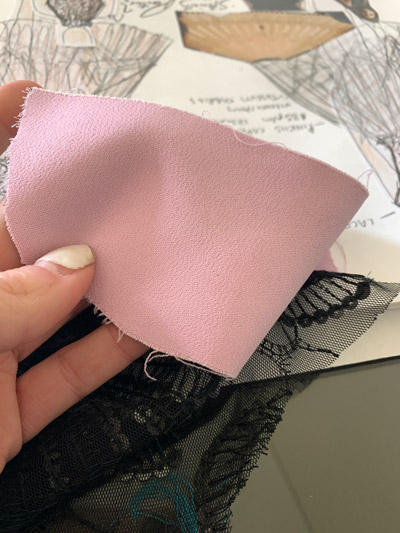
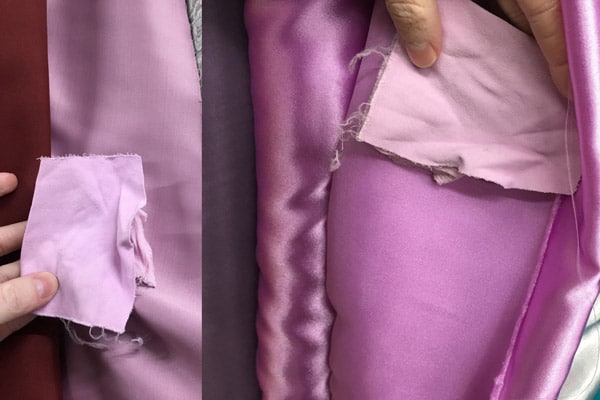
Mark had a bubblegum pink scuba-like fabric that I loved the colour and weight of, that we decided to use. The only problem was, there was a black backing on the fabric and Simon did not think it could be pleated due to its thickness. We decided to look for something else.
Mark and I set off to find the most beautiful fabric to be pleated up into what I envisioned to be a masterpiece.
The only problem was…. no fabric caught my eye.
Five fabric stores down and not a single option, not even a maybe! We soon gave up our fabric hunt and I decided to search online.
Hundreds of pages of fabrics later and I still came up empty handed. Could I possibly be…. FUSSY?
Deflated, but still determined to use the original pink fabric, Mark decided to try pulling off the black backing. It came off surprisingly easily!
We thought we were so smart now that we could use the fabric… but discovered that we only had a mere five meters, which was not enough for a pleated skirt, as 3 times the usual length is needed when taking pleats into consideration.
Back to the drawing board.
We both kept an eye out for fabrics, preferably pink to match the pink scuba fabric we already had. Mark came across something and I wasn’t sure from the photo he sent me, but I liked the colour and trusted him.
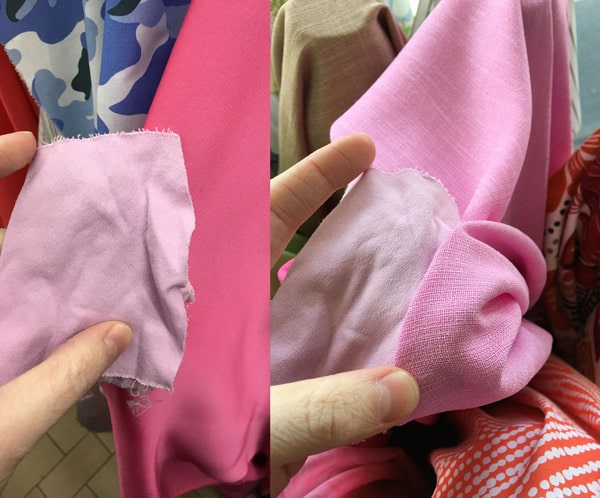
I purchased the fabric, Mark lay and cut it into the pattern pieces and I Ubered it to Simon to save Mark making the trip out to the warehouse.
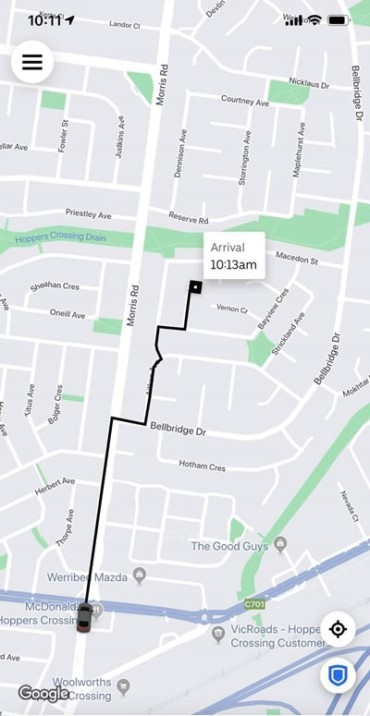
Did you know you can just Uber things around?
Simon wasn’t sure it would pleat up, as it was still a little thick, but I insisted we try (desperate). The next day Simon messaged to say there was a big faded stain across one whole panel, and the fabric was unusable.
Devastated, I called Mark but was so relieved to hear we had just enough for another panel and I Ubered that back to Simon. Talk about a runaround!
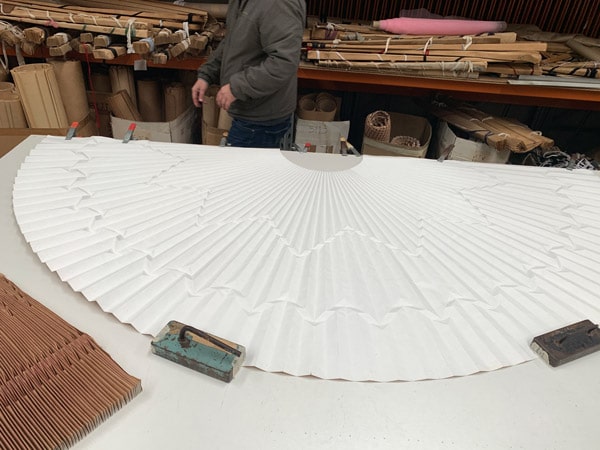
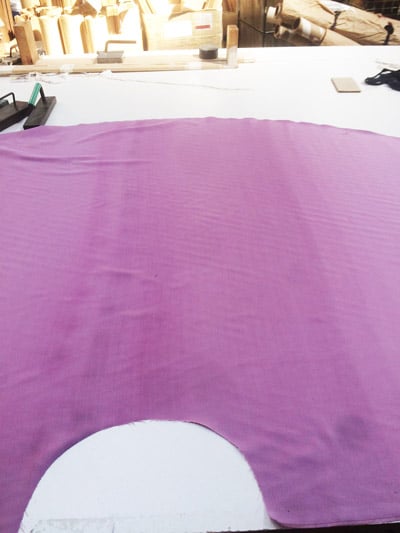
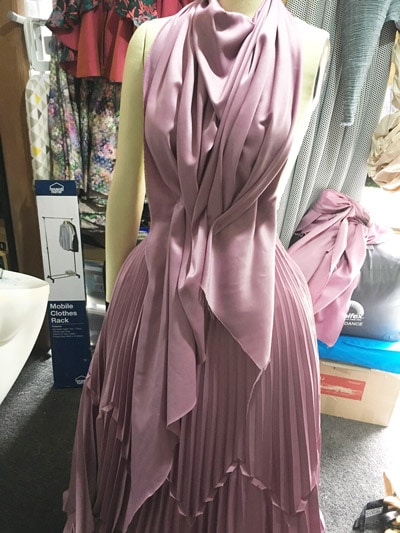
A few days later I received a text message from Simon with a photo of my pleats and it was absolutely stunning!!! I felt a sigh of relief, now I could get on with the rest of the dress.

If you’d like to make your own pleats, have a read of my recent blog post about working with pleats.
The Top Design
Initially, Mark and I were going to have a bodice with a jacket style top that layered over the pleated skirt.
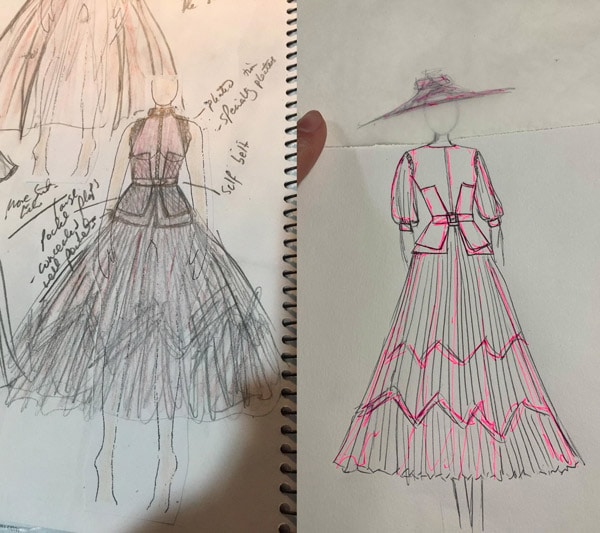
Mark and my design concept to start with
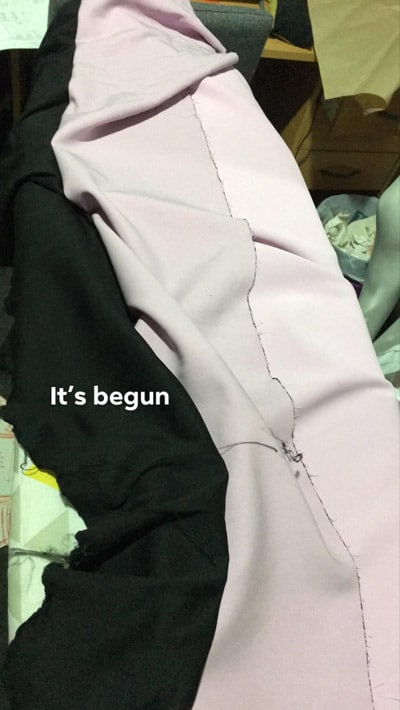
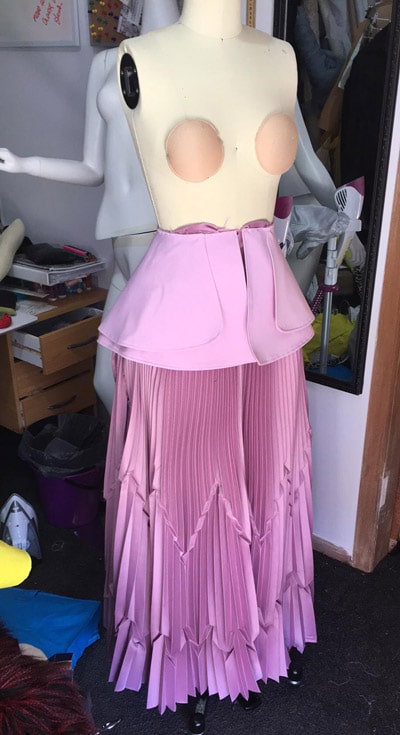
As we were originally going to use the pink scuba fabric, Mark already had the bodice made up ready to go and once the pleats arrived from Simon, he pinned the skirt to the mannequin with the top… it was no good. We both agreed it needed to go, fast.
Get out of our sights! Immediately!
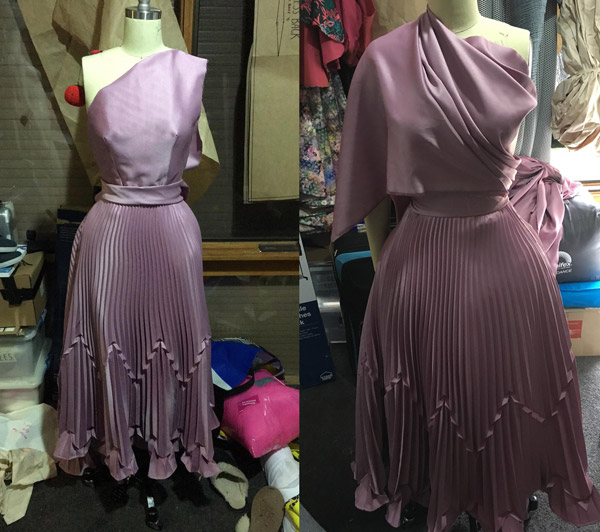
Start over. We decided the top needed to be made out of the same fabric as the skirt. I wanted a new design for the top as the jacket style just wasn’t working and we started pinning ideas to our shared Pinterest board like crazy.
We Skyped numerous times, Mark would drape fabric over the mannequin in all sorts of directions and I would sit there assessing if I liked it, telling him to try it this way or that way.

You name it, we tried it.
It really just was not working! It was frustrating for the both of us, and we knew we were running out of time, just to add to the pressure of it all.
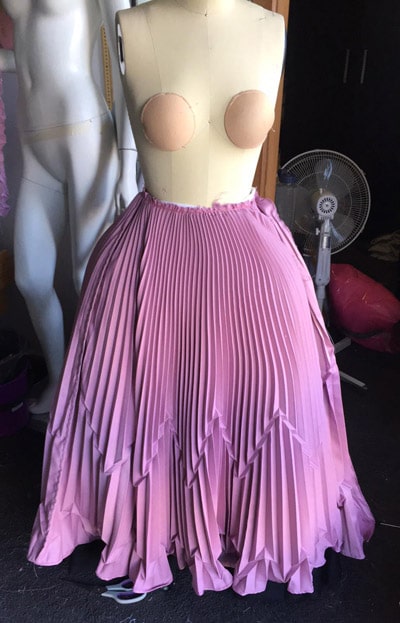
The pleated skirt was also bugging me, as the waistband length was actually much longer than my waist size, so the skirt had to be gathered to fit. That made it extra full, all folding in on itself and hiding some of the pleated detail.
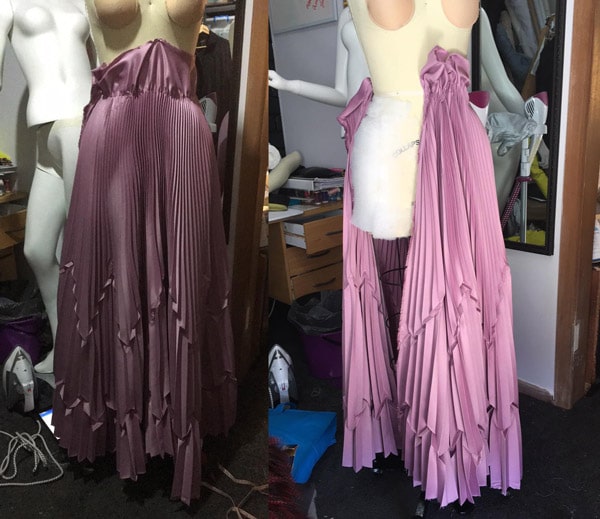
I got Mark to try a petticoat under the skirt to push it out. We decided that if I liked it, he would then make a proper one out of tulle.
After an exhausting number of Skype calls and feeling certain that Mark was getting sick of seeing me, we decided to sit on it for a day or two and give our minds time to recoup. Sometimes you just need a break to provide a chance for fresh ideas to form.
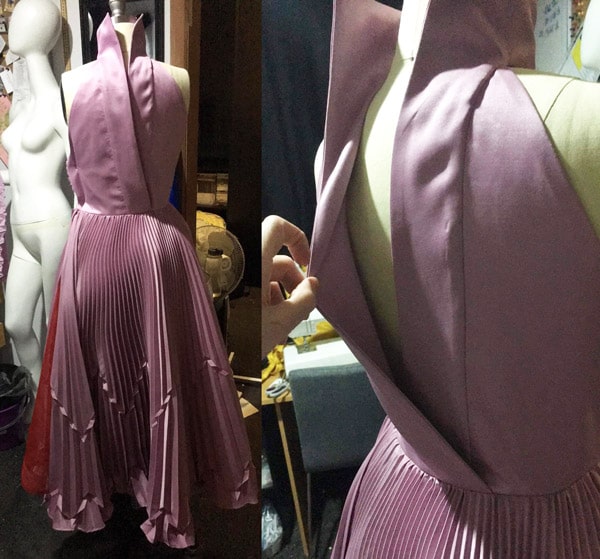
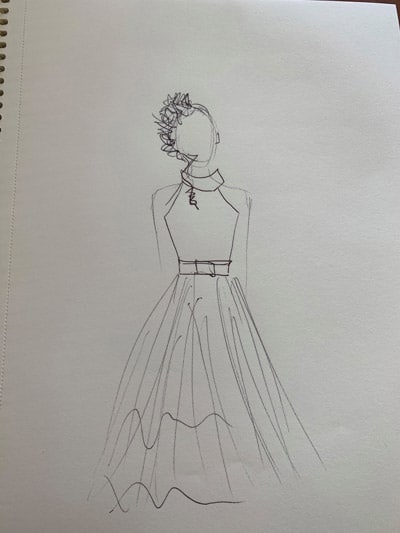
It was during our break that I stumbled across a photo of a white full skirt dress with a high neck.

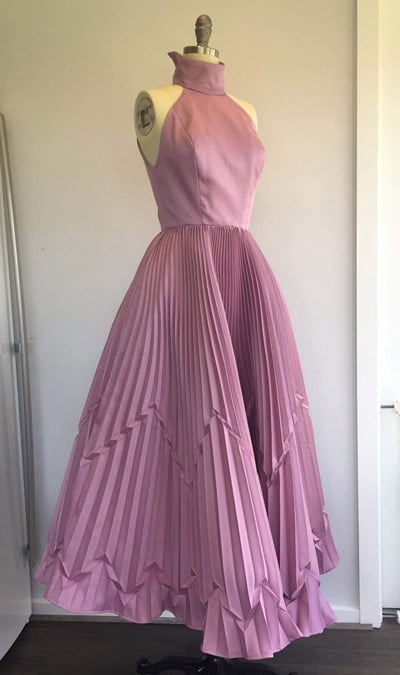
I loved the high neck with a collar feature and told Mark this was the design we would use. I didn’t know how exactly, but I tried to explain how the back had to be fancy, with some kind of feature with an opening… I was very vague, but he said he knew what I meant (I love how we just vibe) and he created the most beautiful back feature and made the collar sit up quite high at the sides which I think really completed the look!
Mark is bloody amazing!
The photo also really cemented in my head that I wanted the skirt to be extra full with a tulle underlay.
Time was running out as we had spent such a long time stumped on the top design. Mark had to hurry out to buy some tulle and horsehair to make the tulle even stronger and puff the heavy skirt out.
Obsessed with this dress!!
Mark worked hard on the dress and had it in the mail to me so I received it just three days before the QLD state FOTF final.
Millinery
While all of this was happening, I contacted Stephanie Spencer to make me a hat. I sent her a fabric sample and showed her the design concept of my dress.
We discussed different brims and decided on a tall crown. I LOVE the carnations Stephanie makes and wanted these on a larger scale to adorn the hat.
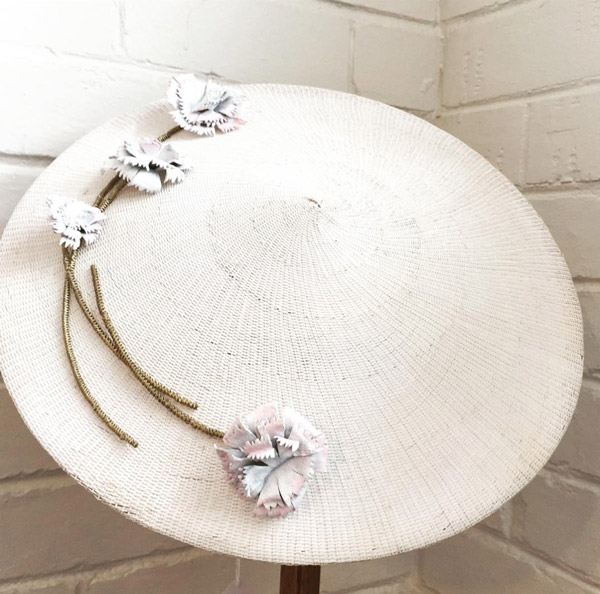
Image: @stephaniespencer_millinery These carnations are my life <3
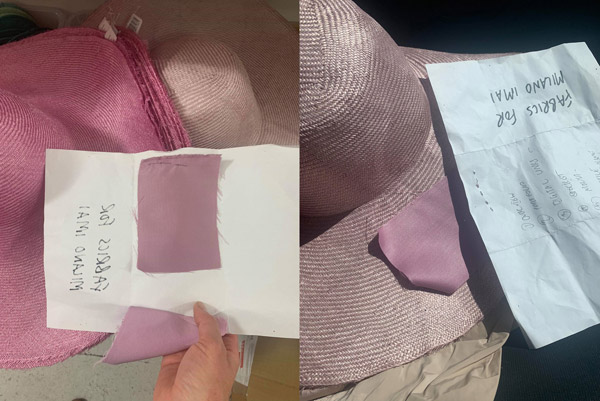
The only problem was, the colour of my dress fabric is a very hard colour to match without custom dying straw and we didn’t have time for that! Stephanie had pinks and purples but none the exact shade of my dress.

The not-quite-right shades of straw that Stephanie had on hand.
I was determined to keep my overall look monochromatic and held out hoping we would somehow find a straw to suit.
One morning, Stephanie told me she may know somewhere with the right colour straw and drove an hour out of town to check it out for me.
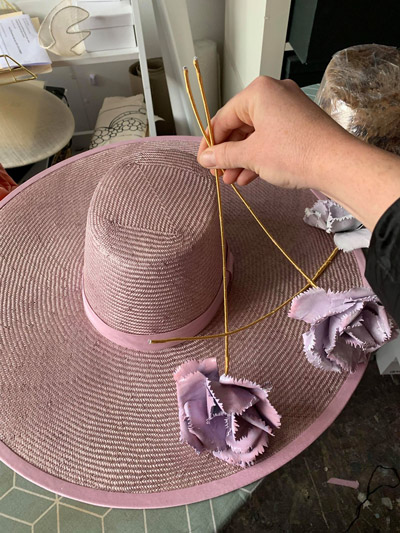
It was perfect! Stephanie set to work right away as there was a lot of work involved.
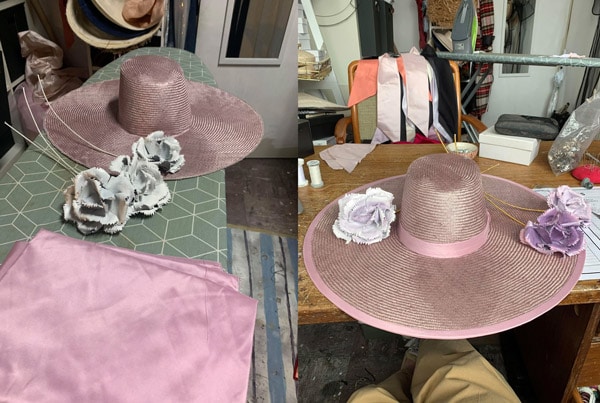
She binded the hat with a mauve satin, handmade leather flowers and painted the three big carnations in a watercolour-like way that gave it a porcelain finish. It was spectacular!!
Accessories
This outfit needed a big belt to add some interest to the midsection, so, of course, I had one made at Buttonmania.
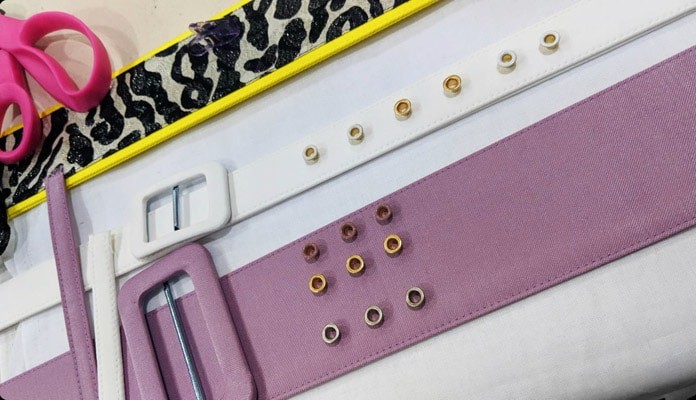
When you are aiming for a monochromatic outfit, it’s hard to find the accessories in all the right shades and trust me I could not find the right colour mauve clutch or shoes ANYWHERE. I decided to have clear shoes and clutch instead, so as not to add another colour, but also to add another fun element into the outfit.
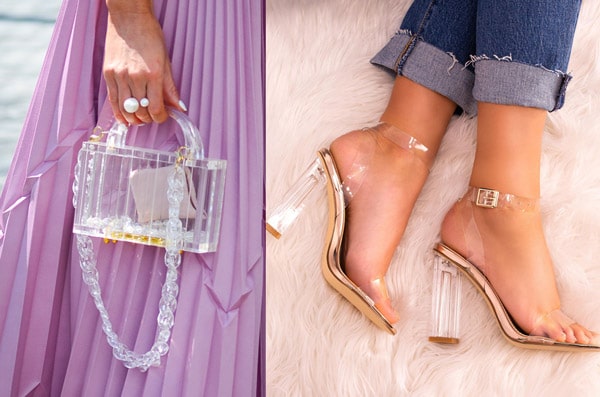
Images: fotf.com.au bag from tobl.com.au, citybeach.com.au
I purchased a clear clutch from Online Bag Lady and added an acrylic chain strap from Etsy.
My shoes I already owned, a random purchase from City Beach a while ago which were only $40!
Queensland State Final
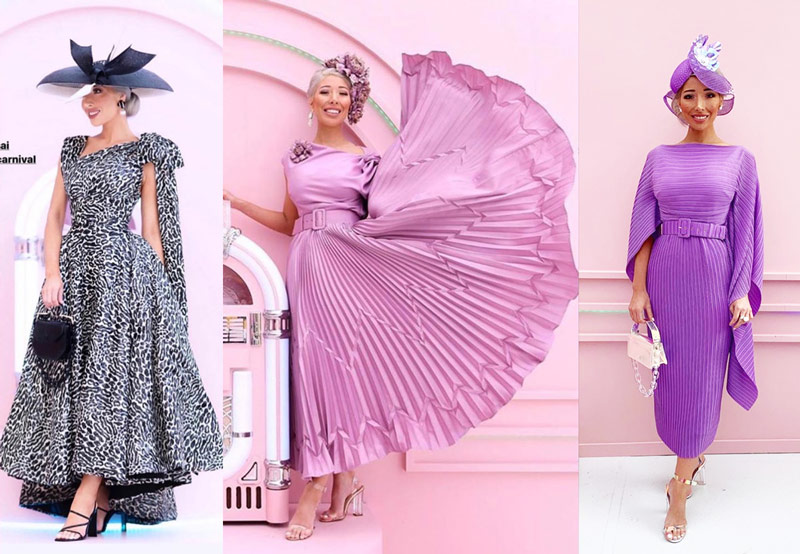
The first showcase event for this outfit was to the QLD State Final and I placed second!!
I really loved this overall look, as it had a very Dior feel to it with the high collar and the wide brim hat.
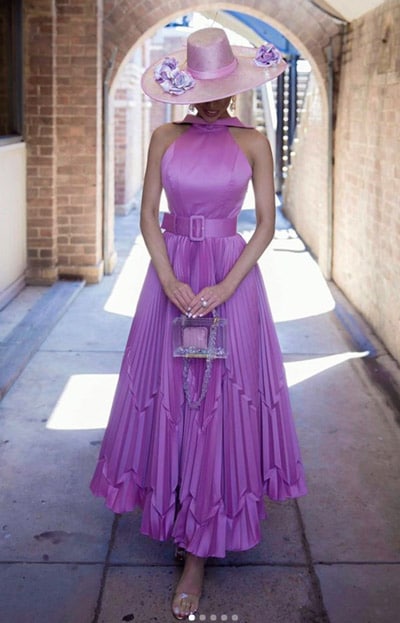
Image: Anthony Rice
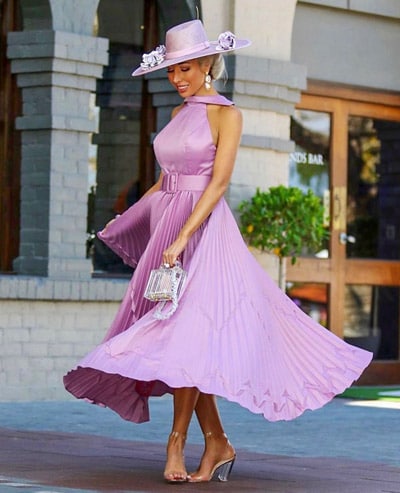
Image: Ross Stevenson
This is the second year the Myer State finals have been via a photo competition and I loved the way my pleats photographed. It was a shame I didn’t get a twirl pic in my photo entries, but luckily Ross Stevenson and Anthony Rice were also there that day to capture photos of us ladies!!
The winner was Mildred Elwood and second runner up Gracyn Jackson.
Changing it up for Melbourne Cup
Everyone knows I never wear an outfit once and I wanted to wear this beauty again to Melbourne Cup day a month later. I had to make some subtle changes.
New Millinery
I posted in the Field Fashion Community Facebook Group that I was considering a new hat to give my outfit a fresh look.
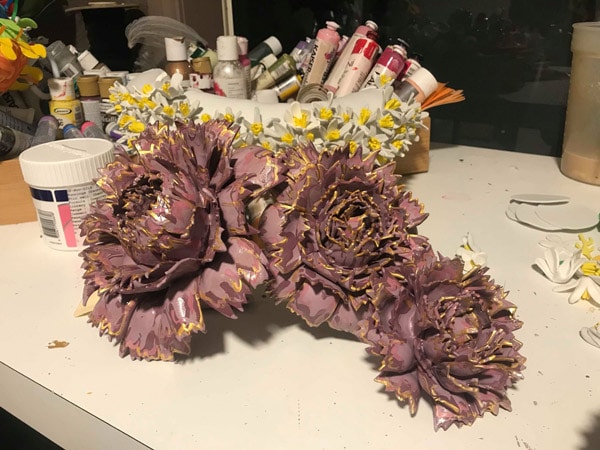
Zorza from Taboo Millinery contacted me and we began discussing a cascading floral peony piece with hand painted hues of mauve.
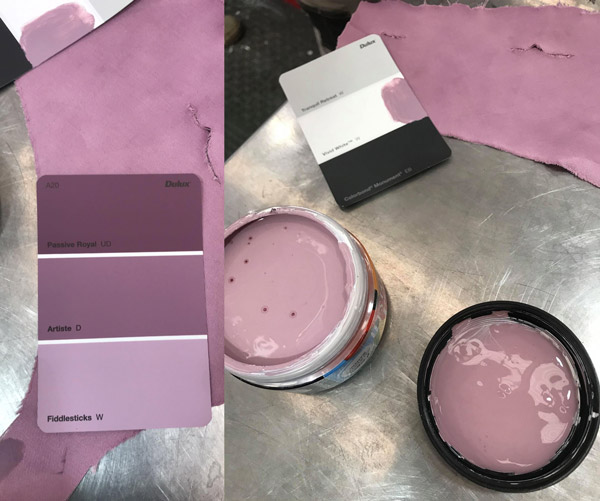
Zorza got the perfect colour matches made up for me at Bunnings!
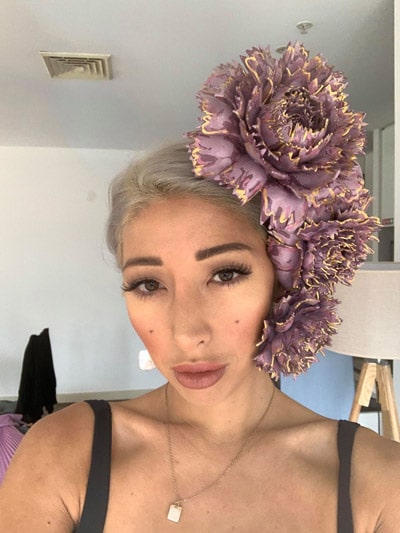
I’m almost convinced Zorza is a vampire. She has just had twins and still manages to spend all night working and never sleeps…
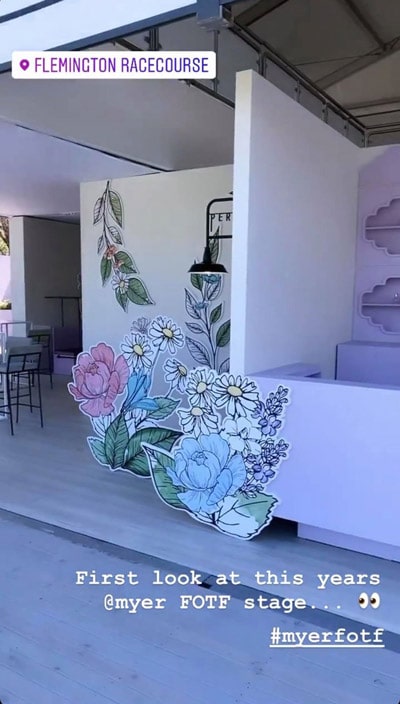
I really loved this idea and thought the peonies were so lovely for Spring- coincidentally enough, I later found the Flemington stage decor happened to be mauve and peonies too haha!
New Top
Initially, I was not going to change the top design of my dress as I didn’t want to take this dress apart. But with Melbourne’s chilly weather and unpredictable days, it seemed smarter to go with a slightly more covered-up top.
The idea sounded even better when I discovered I could actually just tuck the top down inside the dress and wear it as a skirt which meant I could have a new top made and tuck it into my new ‘skirt’.
I messaged Mark asking whether we had enough fabric scraps to make a new top out of and, amazingly, we did!!
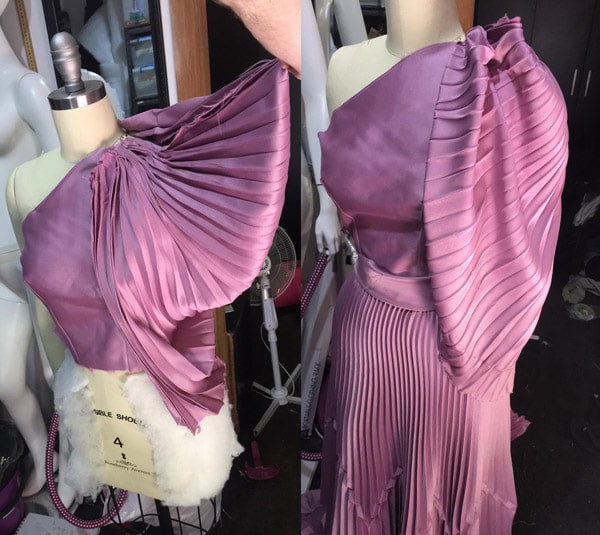
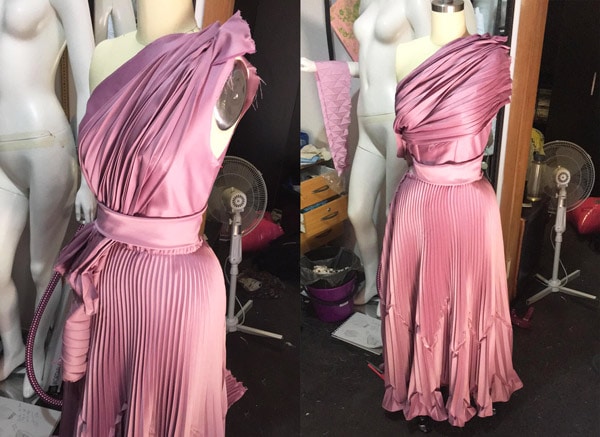
Another mad rush pinning ideas to our Pinterest board and Skyping with ideas, we settled on a structured and gathered sleeve top.
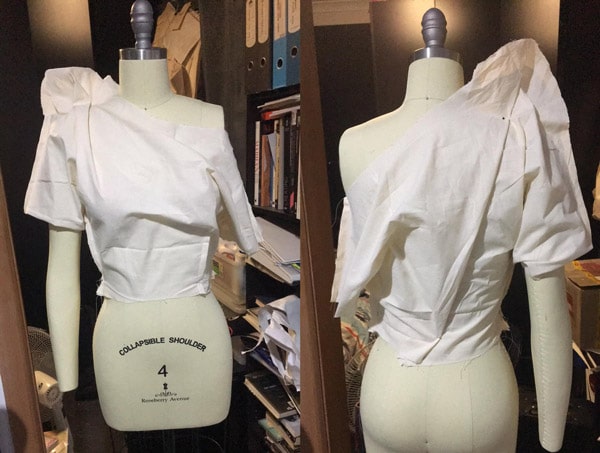
Mark made the base of the top and met me at my apartment in Melbourne so we could work out the gathers for the shoulders and sewed them in place then and there.
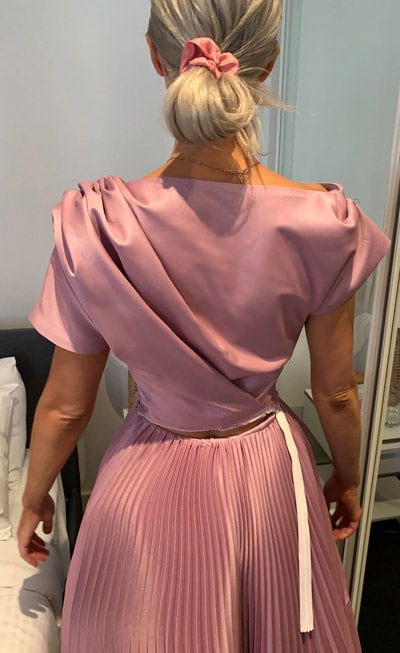
Is Melbourne Cup really even Melbourne Cup if you’re not sewing and adjusting your outfit the day before…
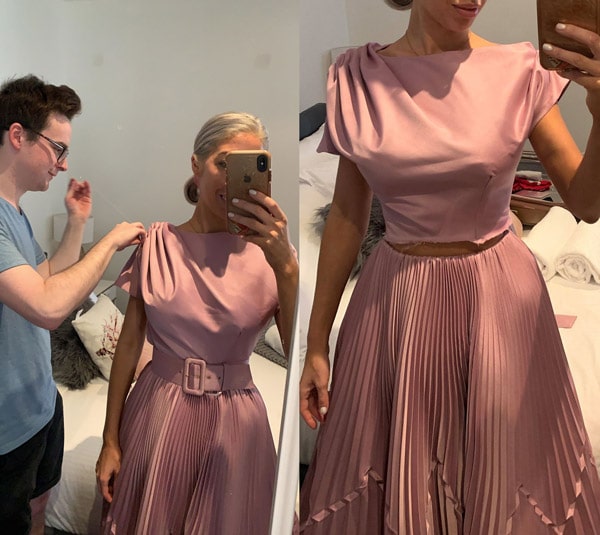
I loved the new top!! I thought the design worked well with the skirt and had its own fun design elements.
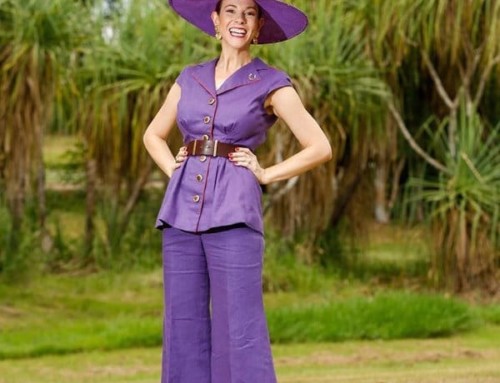
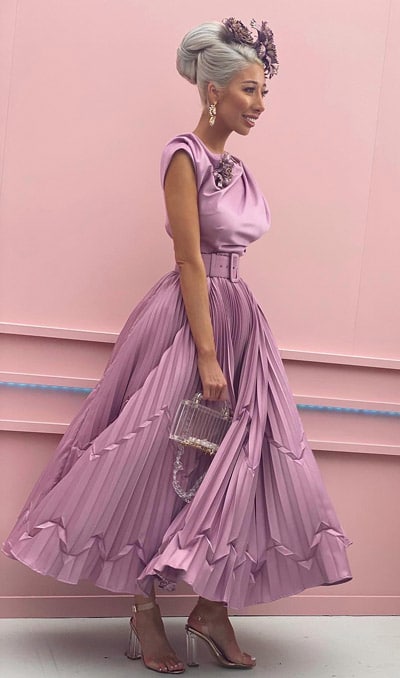
The Melbourne Cup Winners
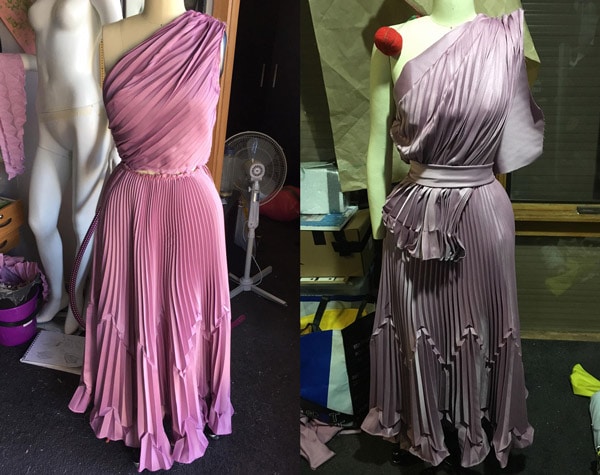
I was finally able to try on the new top with the peony headpiece and loved the overall fresh new look!
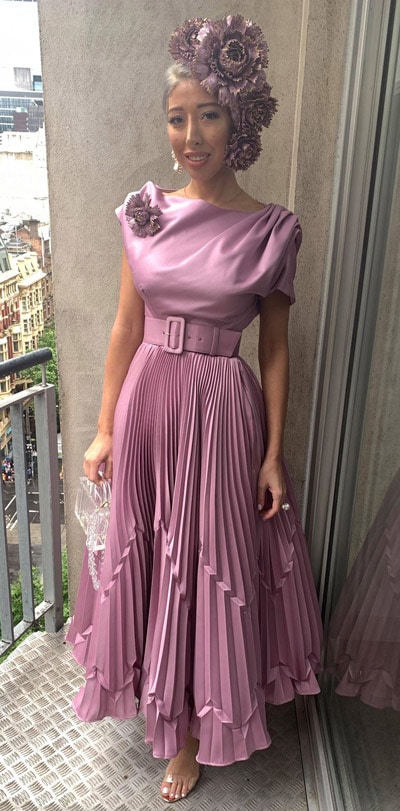
Trying the outfit on the day before.
I was lucky enough to be top ten on Melbourne Cup day in such a fierce competition of entrants!!
The winner was Carena West, in a stunning embroidered multi-colour dress which I think she told me was actually an old MooMoo she got from an Opshop and tailored to fit her- I will definitely have to do a blog on this, and Claire Hahn Millinery!!
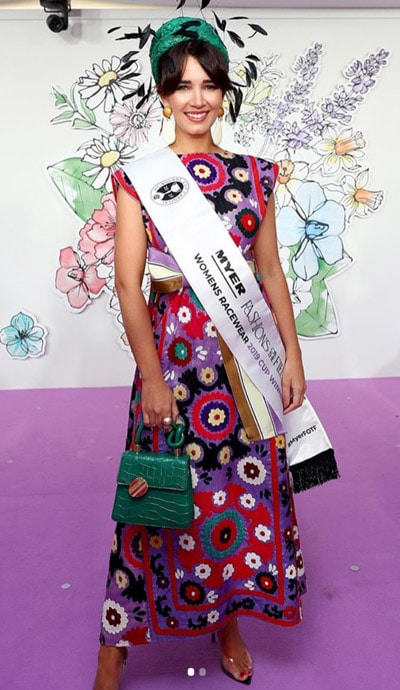
Image: @flemingtonvrc
First runner up was Layce Vocale and second runner up was Kate Lynch.
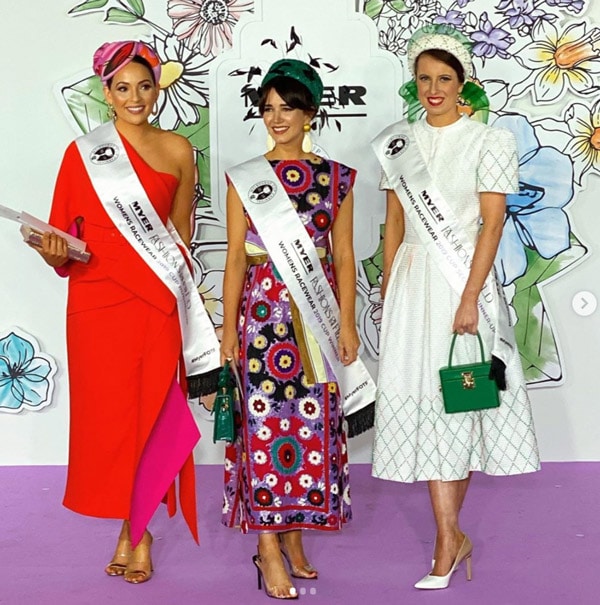
Image: On Track on Trend @ontrackontrend.
If you like hearing the story of how my race day outfits come together, be sure to keep an eye out for my next blog post where I show you how I made my Oaks Day outfit.