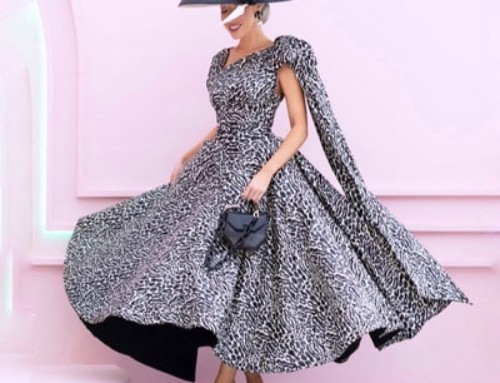
Updating an old hat is the answer to all kinds of FOTF wardrobe disasters:
• It saves you money
• It pulls together a last-minute outfit
• It adds that missing extra colour or feature
• It ensures an original piece, made by you! (kind of)
Quills are a Great Way to Embellish your Hat
My absolute all-time favourite way to turn a hat into a work of art is by using quills. I love the way it looks, providing extra height and colour with an architectural edge.
I’ve successfully incorporated quills into my millinery for a number of race days including Surf Life Saving Race Day, Prime Minister’s Cup and Stradbroke Cup Day.

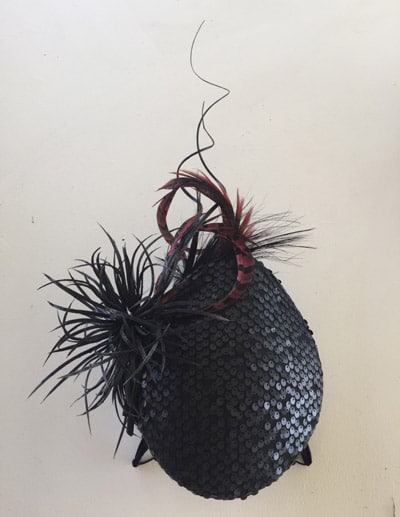
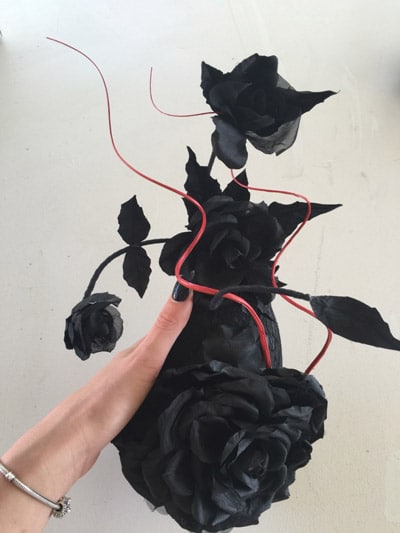
My go-to hat by Kyle Heagney, I curled and sewed on two black quills.
Quills can be purchased from online millinery supply stores, Spotlight and sometimes even your local arts and crafts store.
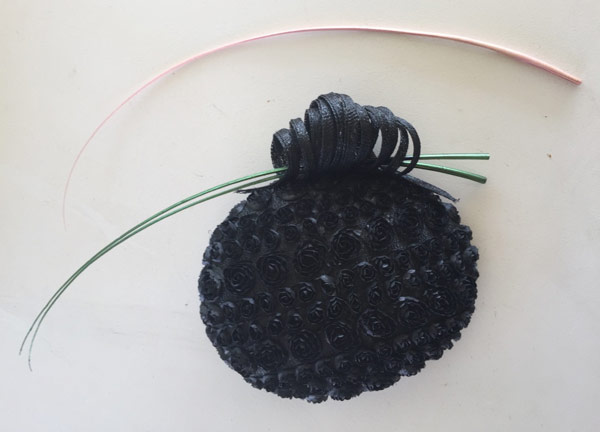
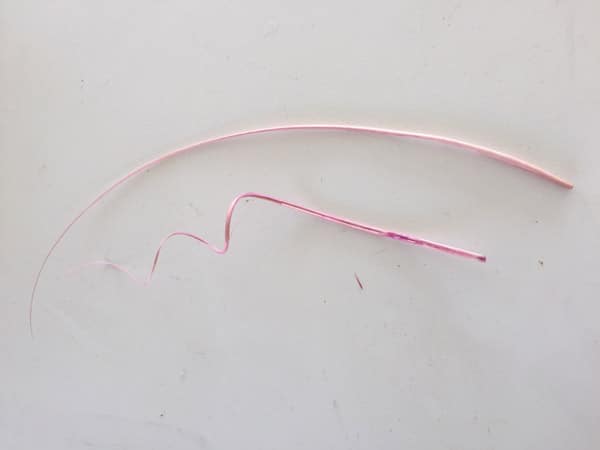
You can wear your quills straight, just as you buy them, or you can get handy with a hair iron and curl them.
How to Curl your Quills
Curling your quills is surprisingly easy.
Quills are made from the same sort of fibre as your nails and hair, so they are quite flexible when heated, and are easily moulded into shape.
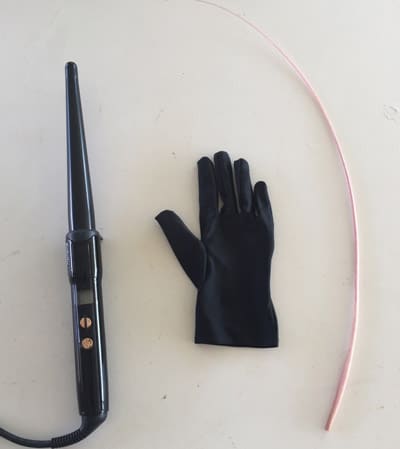
All you need is a hair curler and a heat glove- which usually comes with your hair curler.
Follow these easy steps:
1. Heat up your hair curler.
2. Start with the thick end of the quill and hold it to the base of the curler.
3. Slowly wrap the quill around the curler- wrap a small amount and wait for it to heat up as the heat makes the quill bend into shape.
4. Wrap all the way to the top. (The tip is a little more fragile but you can always move the quill down the base just to slightly curl the tip).
5. Remove from the curler and voila! Easy right?
How to Paint your Quills
Quills come in many colours, but perfection is paramount for FOTF, so get your paints out!
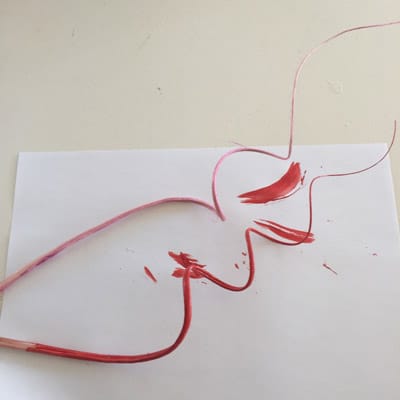
I use acrylic paint and give it two light coats.
Hot tip: When you are in a hurry use your hair dryer to dry the paint, it usually dries in less than a minute.
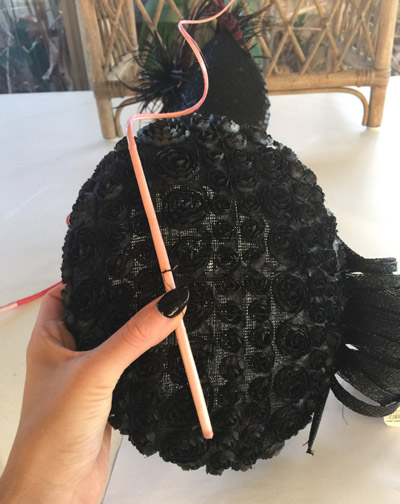
Positioning your Quills
Play around with your quills and the base of your hat to see what position looks the best. Make sure you do this in the mirror. Try different combinations by placing them on different sides.

Once you know where you want to place them, you can usually sew them on, depending how thick your base is.
If your base is too thick and there is a layer of fabric covering the base, you can sew it onto that. Alternatively, if you think it will hold and wont be visible, you can glue your quills on.
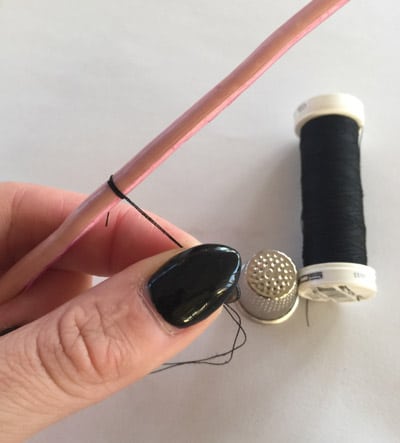
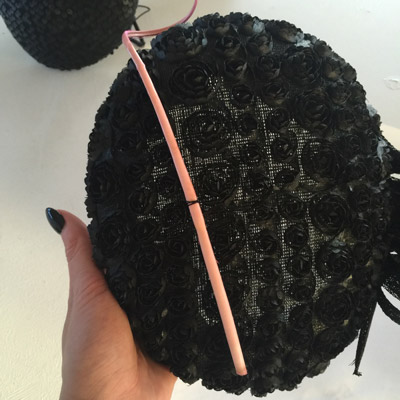
Sewing on your Quills
Using a needle and thread, pierce a hole through the centre of the quill near one end.
Secure it in place before sewing through the hat base, then wrap the thread around the stem a couple of times to hold it.

Sew back up through the base, wrap around the quill and back into the base. Do this a few times until it feels secure and finish at the back. Easy!
After sewing on the quills if the thread doesn’t match the quill then I would paint it too.
Next time you give it a try, send me a photo of your (now completely original) creation! I’ll come back and add some of your photos to this post.
For more hat embellishing ideas, read my post about how to resuse and revamp your millinery. And if you’re looking to rent or buy a hat, check out Millinery Market, an online millinery marketplace where you can browse hundreds of hat listings from milliners and race enthusiasts from across Australia.
If you found this DIY tip useful, you may also like to subscribe to my newsletter below to receive one helpful tip delivered straight to your inbox each week.